There are several ways to connect Azure Data Lake Storage (ADLS) Gen2 or Blob to Databricks. Each method offers different levels of security, flexibility, and complexity. Such as
- Mount ADLS to DBFS
- Service Principal with OAuth 2.0
- Direct access with ABFS URI (Azure Blob File System)
- Azure Active Directory (AAD) Passthrough
- SAS Token (Shared Access Signature)
- Managed Identity (MSI)
- Access Key Authentication
We have discussed “mount”, Account Key, SAS token at dbutils: mount, using Account Key or SAS to access adls or blob
Today we focus on using Service principal with OAuth2.0 to access ADLS or Blob.
Access ADLS Gen2 using Service Principal with OAuth 2.0
To access Azure Data Lake Storage (ADLS) or Blob Storage using a service principal with OAuth2 in Azure Databricks, follow these steps. This approach involves authenticating using a service principal’s credentials, such as the client ID, tenant ID, and client secret.
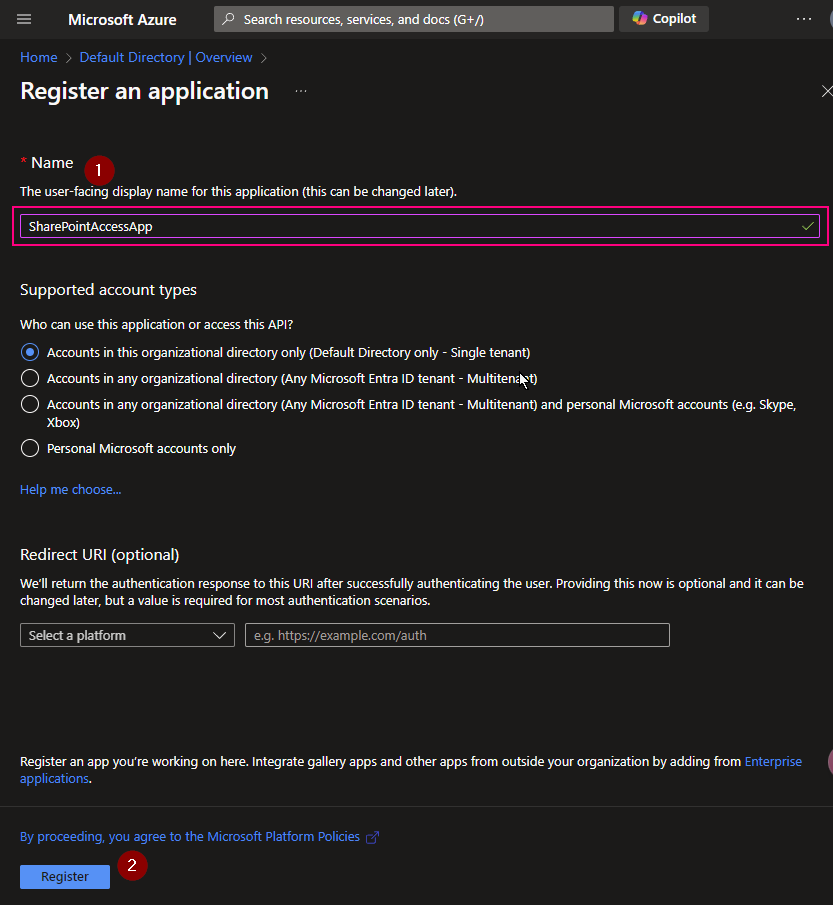
Previously, we discussed how to create Service Principle, Register an application on Azure Entra ID (former Active Directory), generate client-secret-value. To get client.id and client-secret-value please review this article.
if we have save the client-secret-value at databricks’ “secret-scopes”, please review the article “dbutils: Secrets and Secret Scopes“.
Define service principal credentials
# Define service principal credentials
client_id = "<your-client-id>"
tenant_id = "<your-tenant-id>"

# It's recommended to store the secret securely in a secret scope
client_secret = dbutils.secrets.get(scope = "<scope-name>", key = "<client-secret-key>")
OAuth2 configuration for service principal
# OAuth2 configuration for service principal
configs = {
  "fs.azure.account.auth.type": "OAuth",
  "fs.azure.account.oauth.provider.type": "org.apache.hadoop.fs.azurebfs.oauth2.ClientCredsTokenProvider",
  "fs.azure.account.oauth2.client.id": "<client-id>",
  "fs.azure.account.oauth2.client.secret": "<client-secret>",
  "fs.azure.account.oauth2.client.endpoint": "https://login.microsoftonline.com/<tenant-id>/oauth2/token"
}
Mount ADLS to DBFS
#Mount ADLS to DBFS
dbutils.fs.mount(
  source = "abfss://<container-name>@<storage-account-name>.dfs.core.windows.net/",
  mount_point = "/mnt/adls",
  extra_configs = configs
)
full example here.
# define variable
TenantID="b4e0dd6XXXXXXXXXXXXXXXX99ec4b8e"
clientID="72baeXXXXXXXXXXXXXX659ea547"
Secret-scope-name="my_scopes"
secrets-key = "my_secret_key"
storage_account_name = "asamainriadls"
container = "mainri-asa-file-system"
my_mount_point = "/mnt/mainriadlsfilesystem"

#get secret
my_secret = dbutils.secrets.get(scope=Secret-scope-name, key=secrets-key)

# OAuth2 configuration for service principal
configs = {
"fs.azure.account.auth.type": "OAuth",
"fs.azure.account.oauth.provider.type": "org.apache.hadoop.fs.azurebfs.oauth2.ClientCredsTokenProvider",
"fs.azure.account.oauth2.client.id": f"{ClientID}",
"fs.azure.account.oauth2.client.secret": f"{my_secret}",
"fs.azure.account.oauth2.client.endpoint": f”https://login.microsoftonline.com/{TenantID}/oauth2/token”
}
In fact, we are able to directly access to ADLS/blob now.
# in fact,  we are able to directly access adls/blob now.
#adls
df = spark.read.csv(f"abfs://{container}@{storage_account_name }.dfs.windows.core.net/input/test.csv")

display(df)

# blob
display(spark.read.csv(f"abfs://{container}@{storage_account_name }.dfs.windows.core.net/input/test.csv"))

Of course, we are able to mount the ADLS to DBFS if we like; but it’s not necessary at this moment for demo.
# mount to DBFS
dbutils.fs.mount(
  source = f"abfss://{container} @{storage_account_name}.dfs.core.windows.net/",
  mount_point = my_mount_point,
  extra_configs = configs
)

#Mount Blob to DBFS
dbutils.fs.mount(
  source = "abfss://<container-name>@<storage-account-name>.blob.core.windows.net/",
  mount_point = "/mnt/adls",
  extra_configs = configs
)
Please do not hesitate to contact me if you have any questions at William . chen @ mainri.ca
(remove all space from the email account 😊)


