In Azure Data Factory (ADF) or Synapse, using Copy Activity with a File System as a source or sink is common when dealing with on-premises file systems, network file shares, or even cloud-based file storage systems. Here’s an overview of how it works, key considerations, and steps to set it up.
Key Components and setup with File System:
Create a File System Linked Service
Linked Service: For on-premises or network file systems, you typically need a Self-hosted Integration Runtime (SHIR).
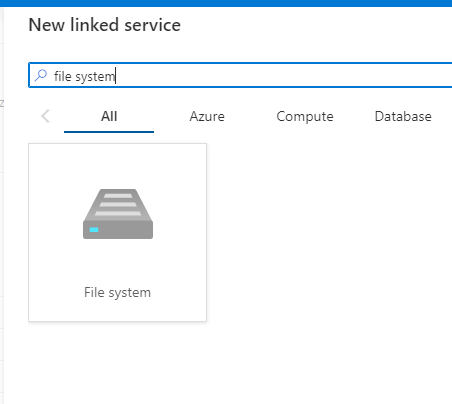
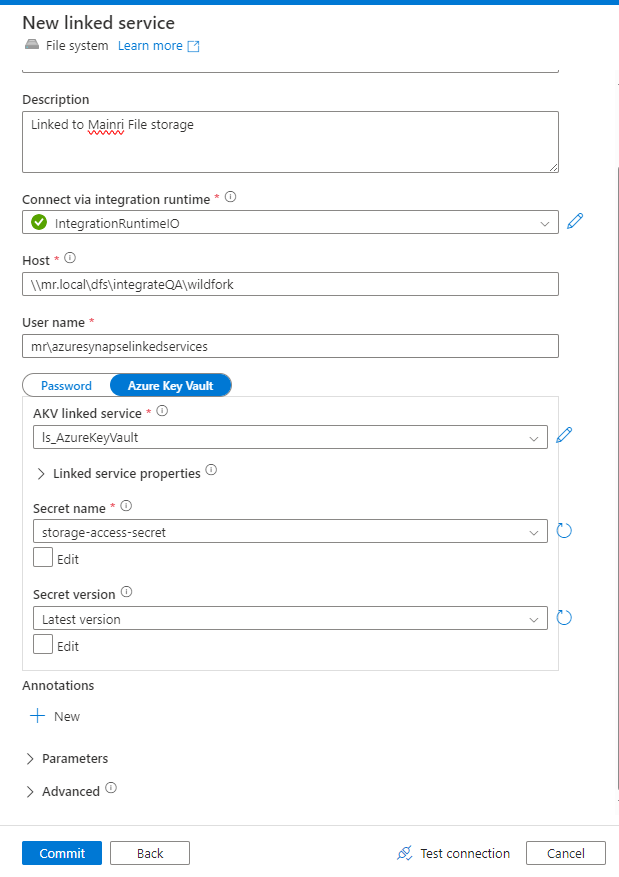
Fill in the required fields:
- Connection: Specify the file system type (e.g., network share or local path).
- Authentication: Provide the appropriate credentials, such as username/password, or key-based authentication.
- If the file system is on-premises, configure the Self-hosted Integration Runtime to access it.
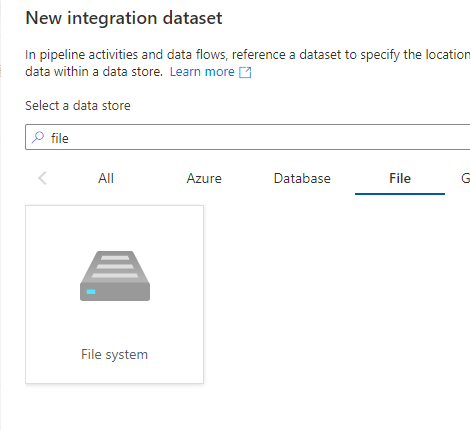
Create File System Dataset
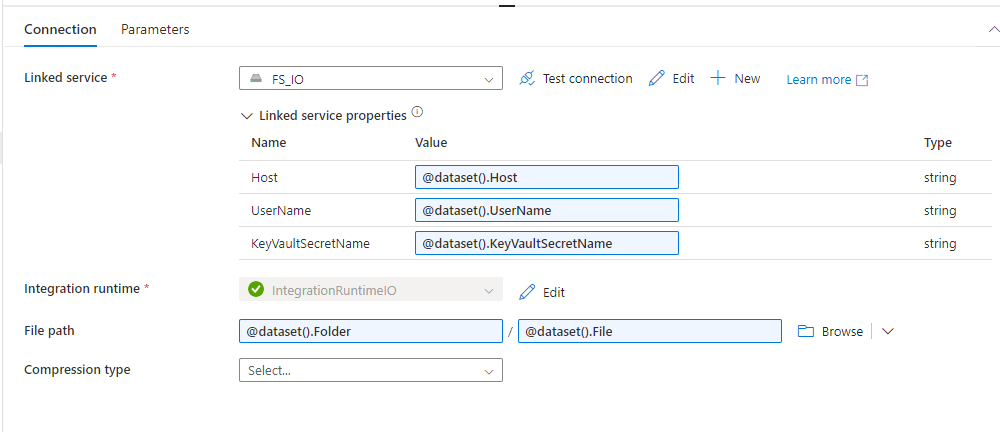
Go to Datasets in ADF and create a new dataset. Select File System as the data source.
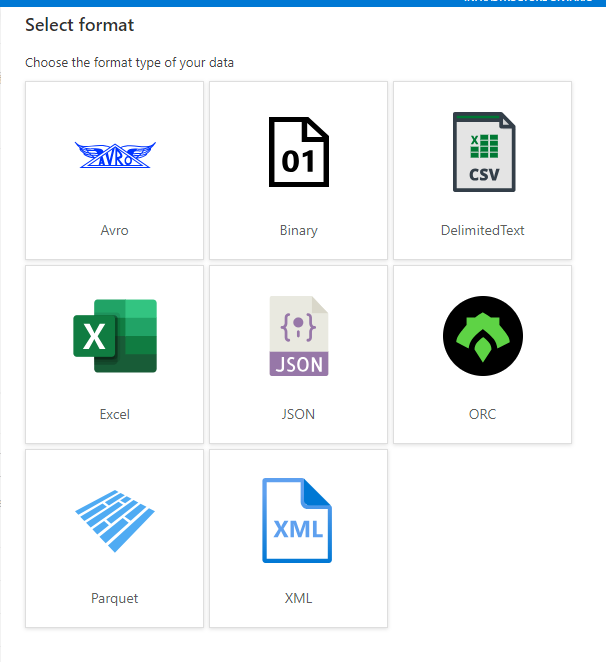
Configure the dataset to point to the correct file or folder:
- Specify the File Path.
- Define the file format (e.g., CSV, JSON, XML).
- Set any schema information if required (for structured data like CSV).
Considerations:
- Integration Runtime: For on-premises file systems, the Self-hosted Integration Runtime (SHIR) is essential to securely move data from private networks.
- Performance: Data transfer speeds depend on network configurations (for on-prem) and ADF’s parallelism settings.
- File Formats: Ensure proper handling of different file formats (e.g., CSV, JSON, Binary etc.) and schema mapping for structured files.
- Security: Ensure credentials and network configurations are correctly set up, and consider encryption if dealing with sensitive data.
Common Errors:
- Connection issues: If the SHIR is not correctly configured, or if there are issues with firewall or network settings, ADF may not be able to access the file system.
- Permission issues: Ensure that the correct permissions are provided to access the file system (file share, SMB, FTP, etc.).

